by Steve Arnold
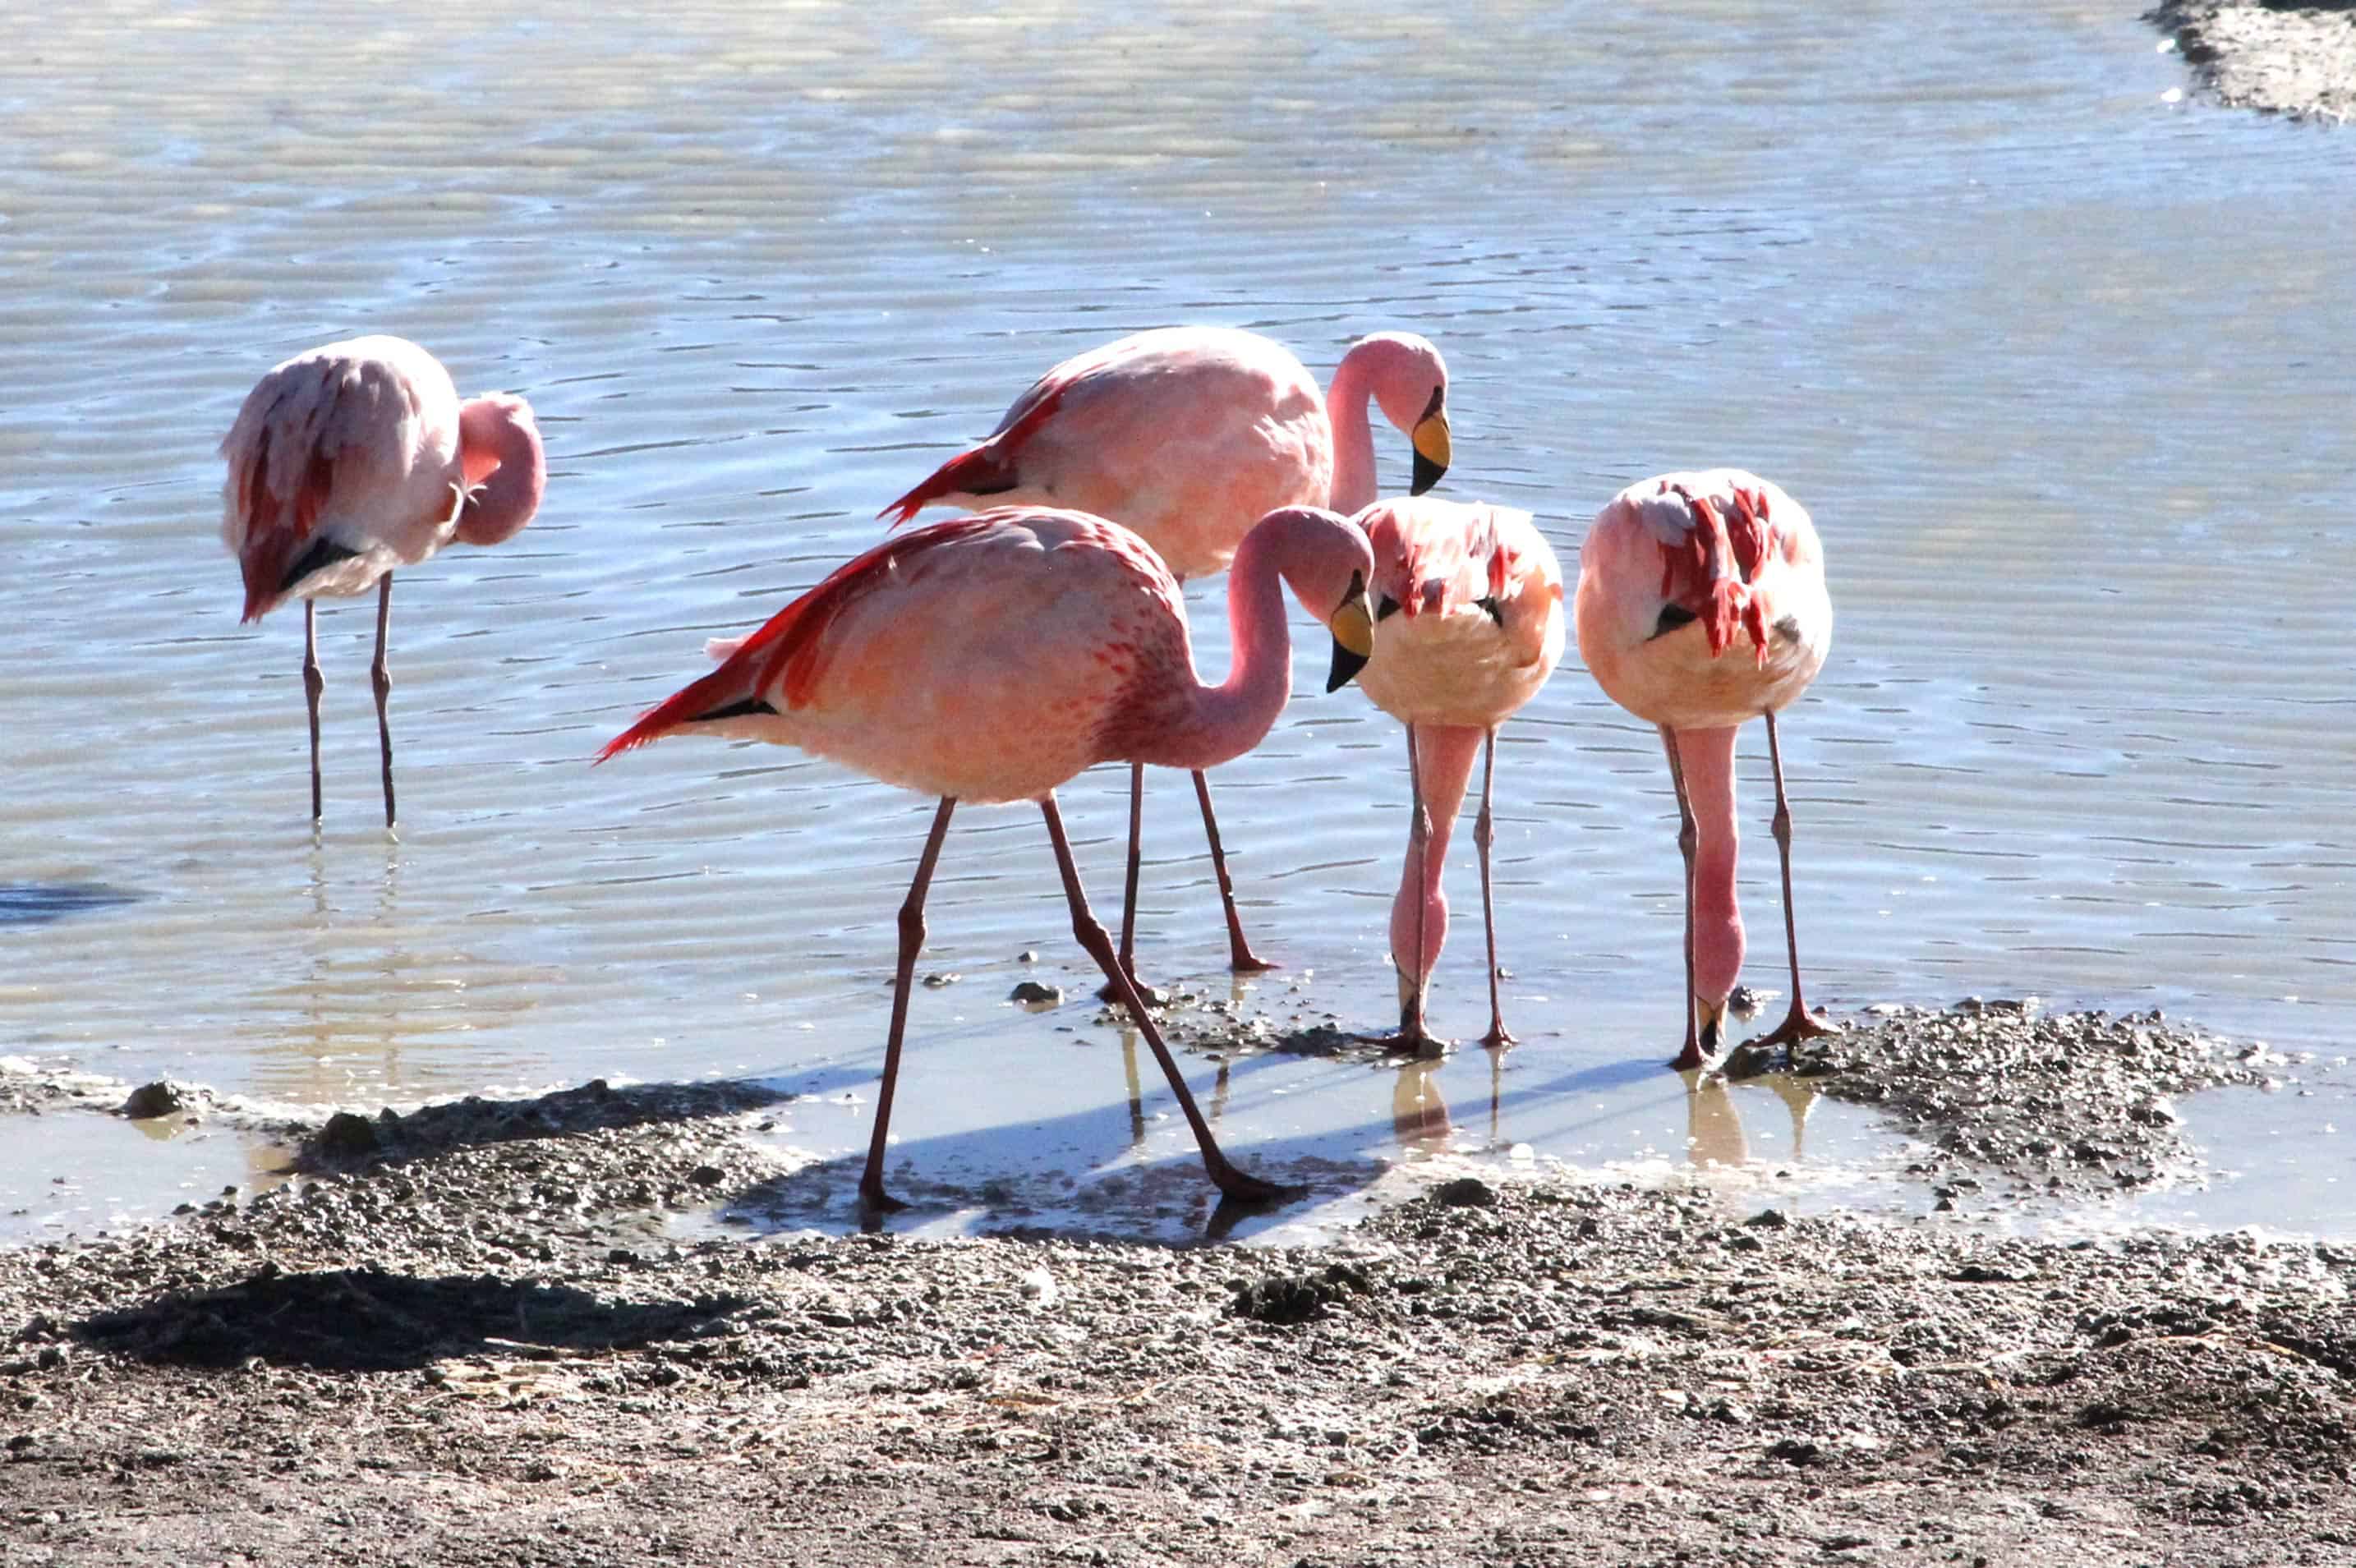
Many people say that their 3-day, 2-night trip from Uyuni in Bolivia is one of the best, if not ‘the’ best things they have done in South America. The journey across the Salar de Uyuni finishes in San Pedro de Atacama in Chile and is the second most photographed destination on the continent.
When I was offered an opportunity to see this for myself I jumped at the chance. I knew that I would be experiencing very high altitudes, extremely remote destinations and wildly varying temperatures, so there was a level of apprehension that accompanied my excitement. What can I expect? What should I pack? How will I cope at high altitude?
Having just completed this incredible journey, I want to pass on some of my observations to hopefully further help those considering or about to embark on this Adventure of a Lifetime.
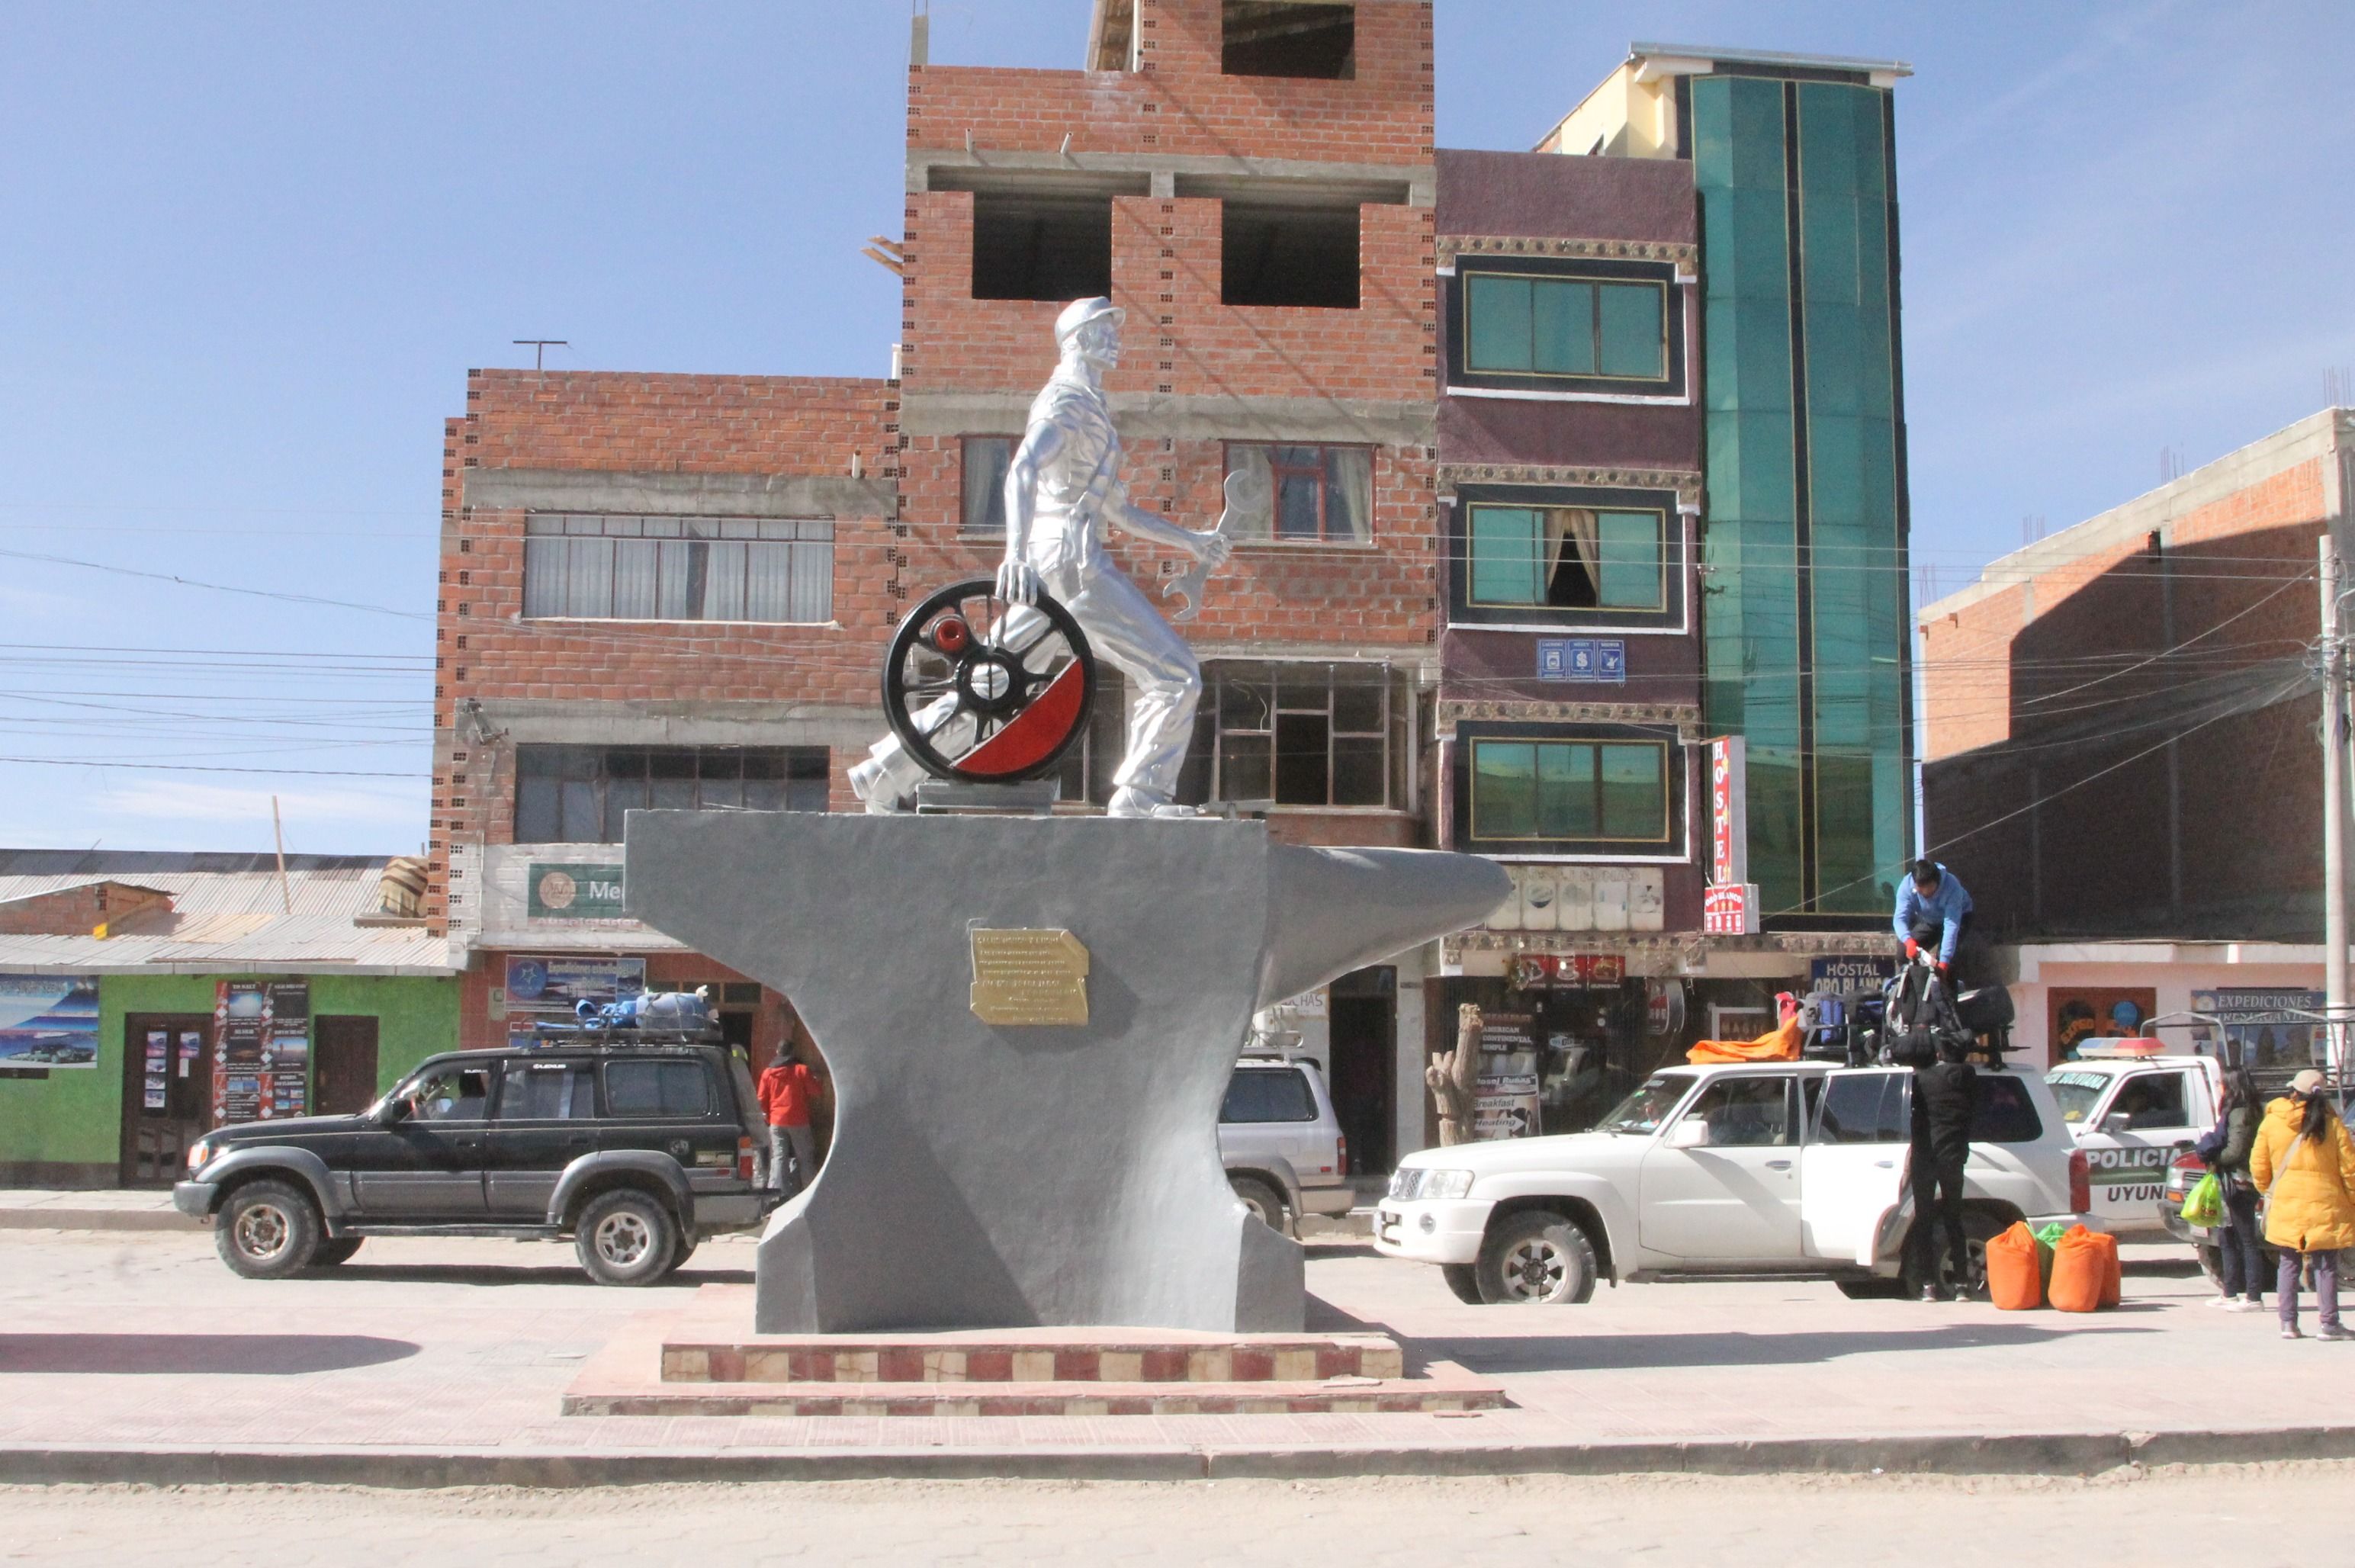
Uyuni
I flew in to from La Paz into Uyuni early in the morning, landing around 9am. It was an easy flight lasting about an hour, and my transfer was waiting to take me into town when I disembarked. The airport is only a few minutes from the town. I was informed I had about an hour and a half to wait for the other members of my party to join us, so I left my bags at the agency and wandered into Uyuni.
Uyuni is a small town that is clearly dominated by travellers embarking on their salt flats experience. There is a street market Thursdays and Sundays which seems to sell everything you could ever need and a lot you would never need. I located a couple of money machines in the same street that the market sets up. I couldn’t work out how to use one (no surprises there) but the other one let me withdraw money thankfully. There are also various shops and restaurants which have free wifi around the square. Now is a good time to send any last messages and emails – you will be off the grid for the next couple of days.
How much money to take
I stressed quite a lot about how much money to take along with me. There are no other opportunities to get money out along the trip, so I didn’t want to get too little, but for some reason I didn’t want to get out too much. I am not really sure why I worried about this so much, but I did. Here is a rough guide of the expenses I encountered:
- Incahuasi Island – 30 Bolivianos (you need to pay to enter to use the bathroom. As it says on the signs, no ticket – no toilet).
- Eduardo Avaroa National Park – 150 Bolivianos.
- Tipping – This is entirely up to you, but I suggest something like 120-150 Bolivianos per person for your guide (about AU$10 a day seems fair) and 40-50 Bolivianos for your driver. I am sure they would appreciate more.
- Toilets – 5 Bolivianos seemed to be the standard price.
- Passport Stamp – 15 Bolivianos for your exit stamp on the Bolivian border to crossing into San Pedro Atacama (I wasn’t asked to pay this oddly, but I was expecting it).
- Hot Showers – Where I was staying there was limited hot water for free, but I have heard others saying they had to pay 10 or 20 Bolivianos for a hot shower at their accommodation.
There are some small stores along the way where you can get water, snacks and some other essentials. You may also visit a market by the salt making plant on the first day where you might like to buy some souvenirs.
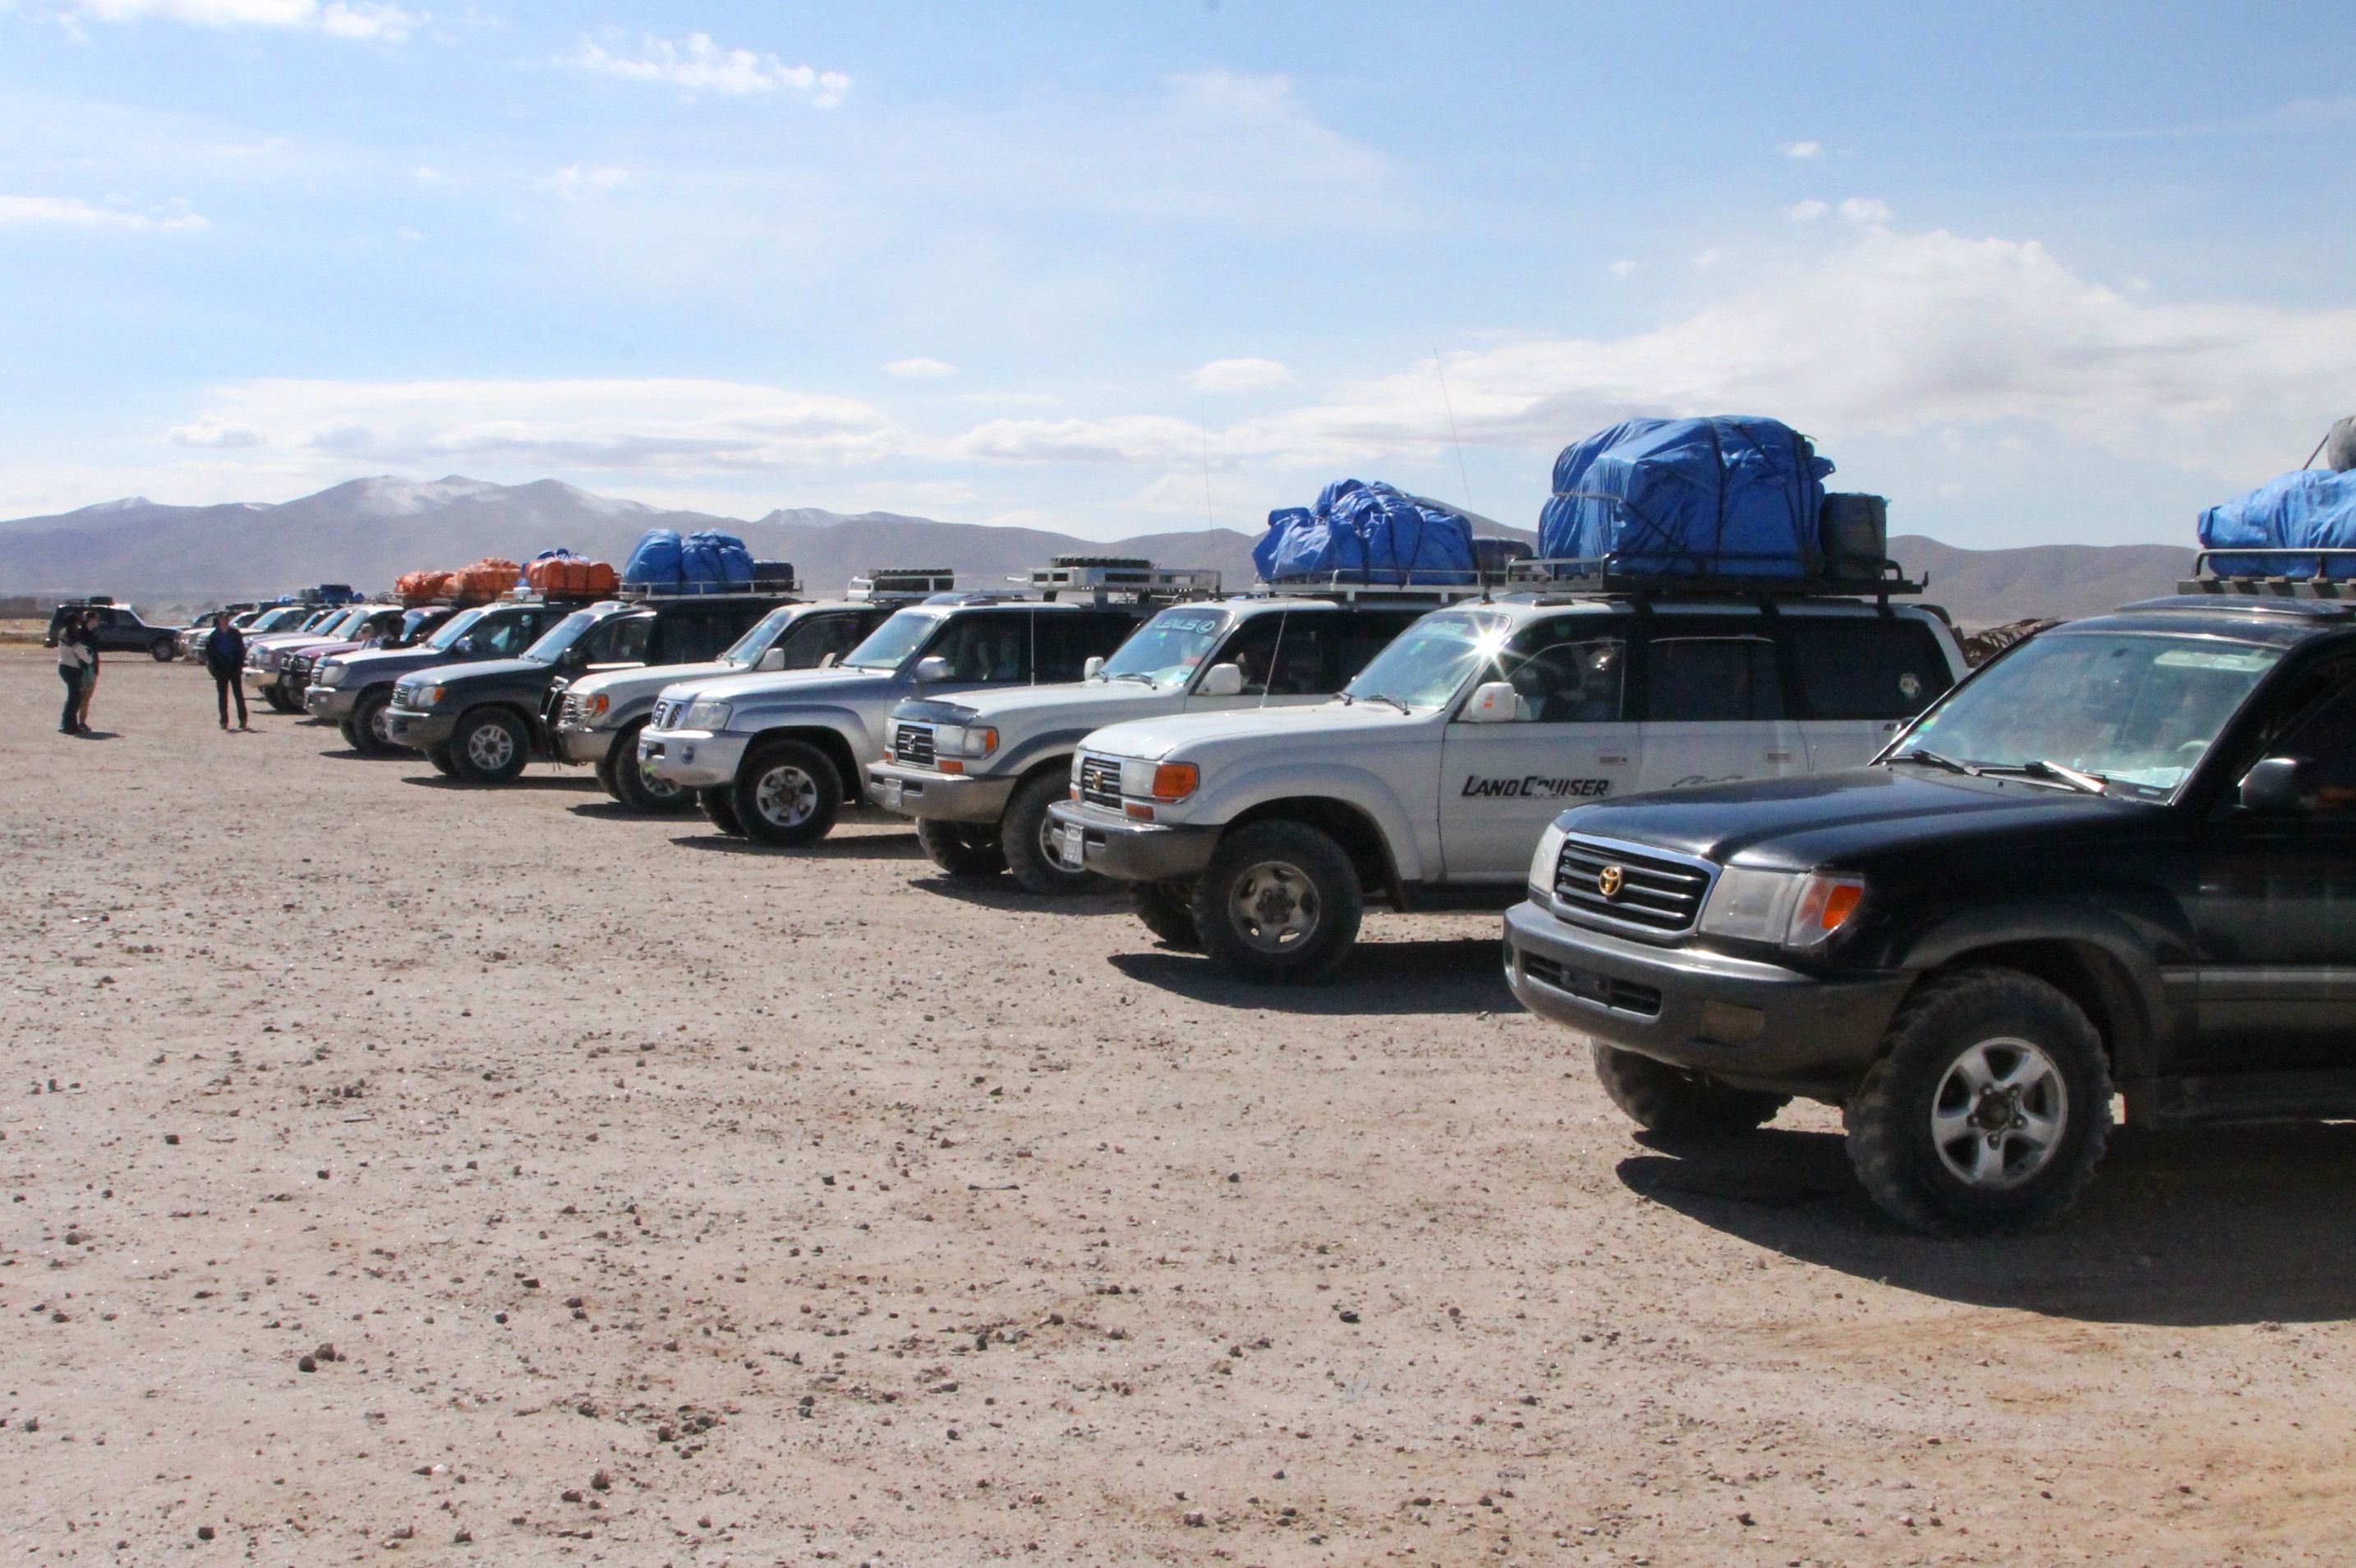
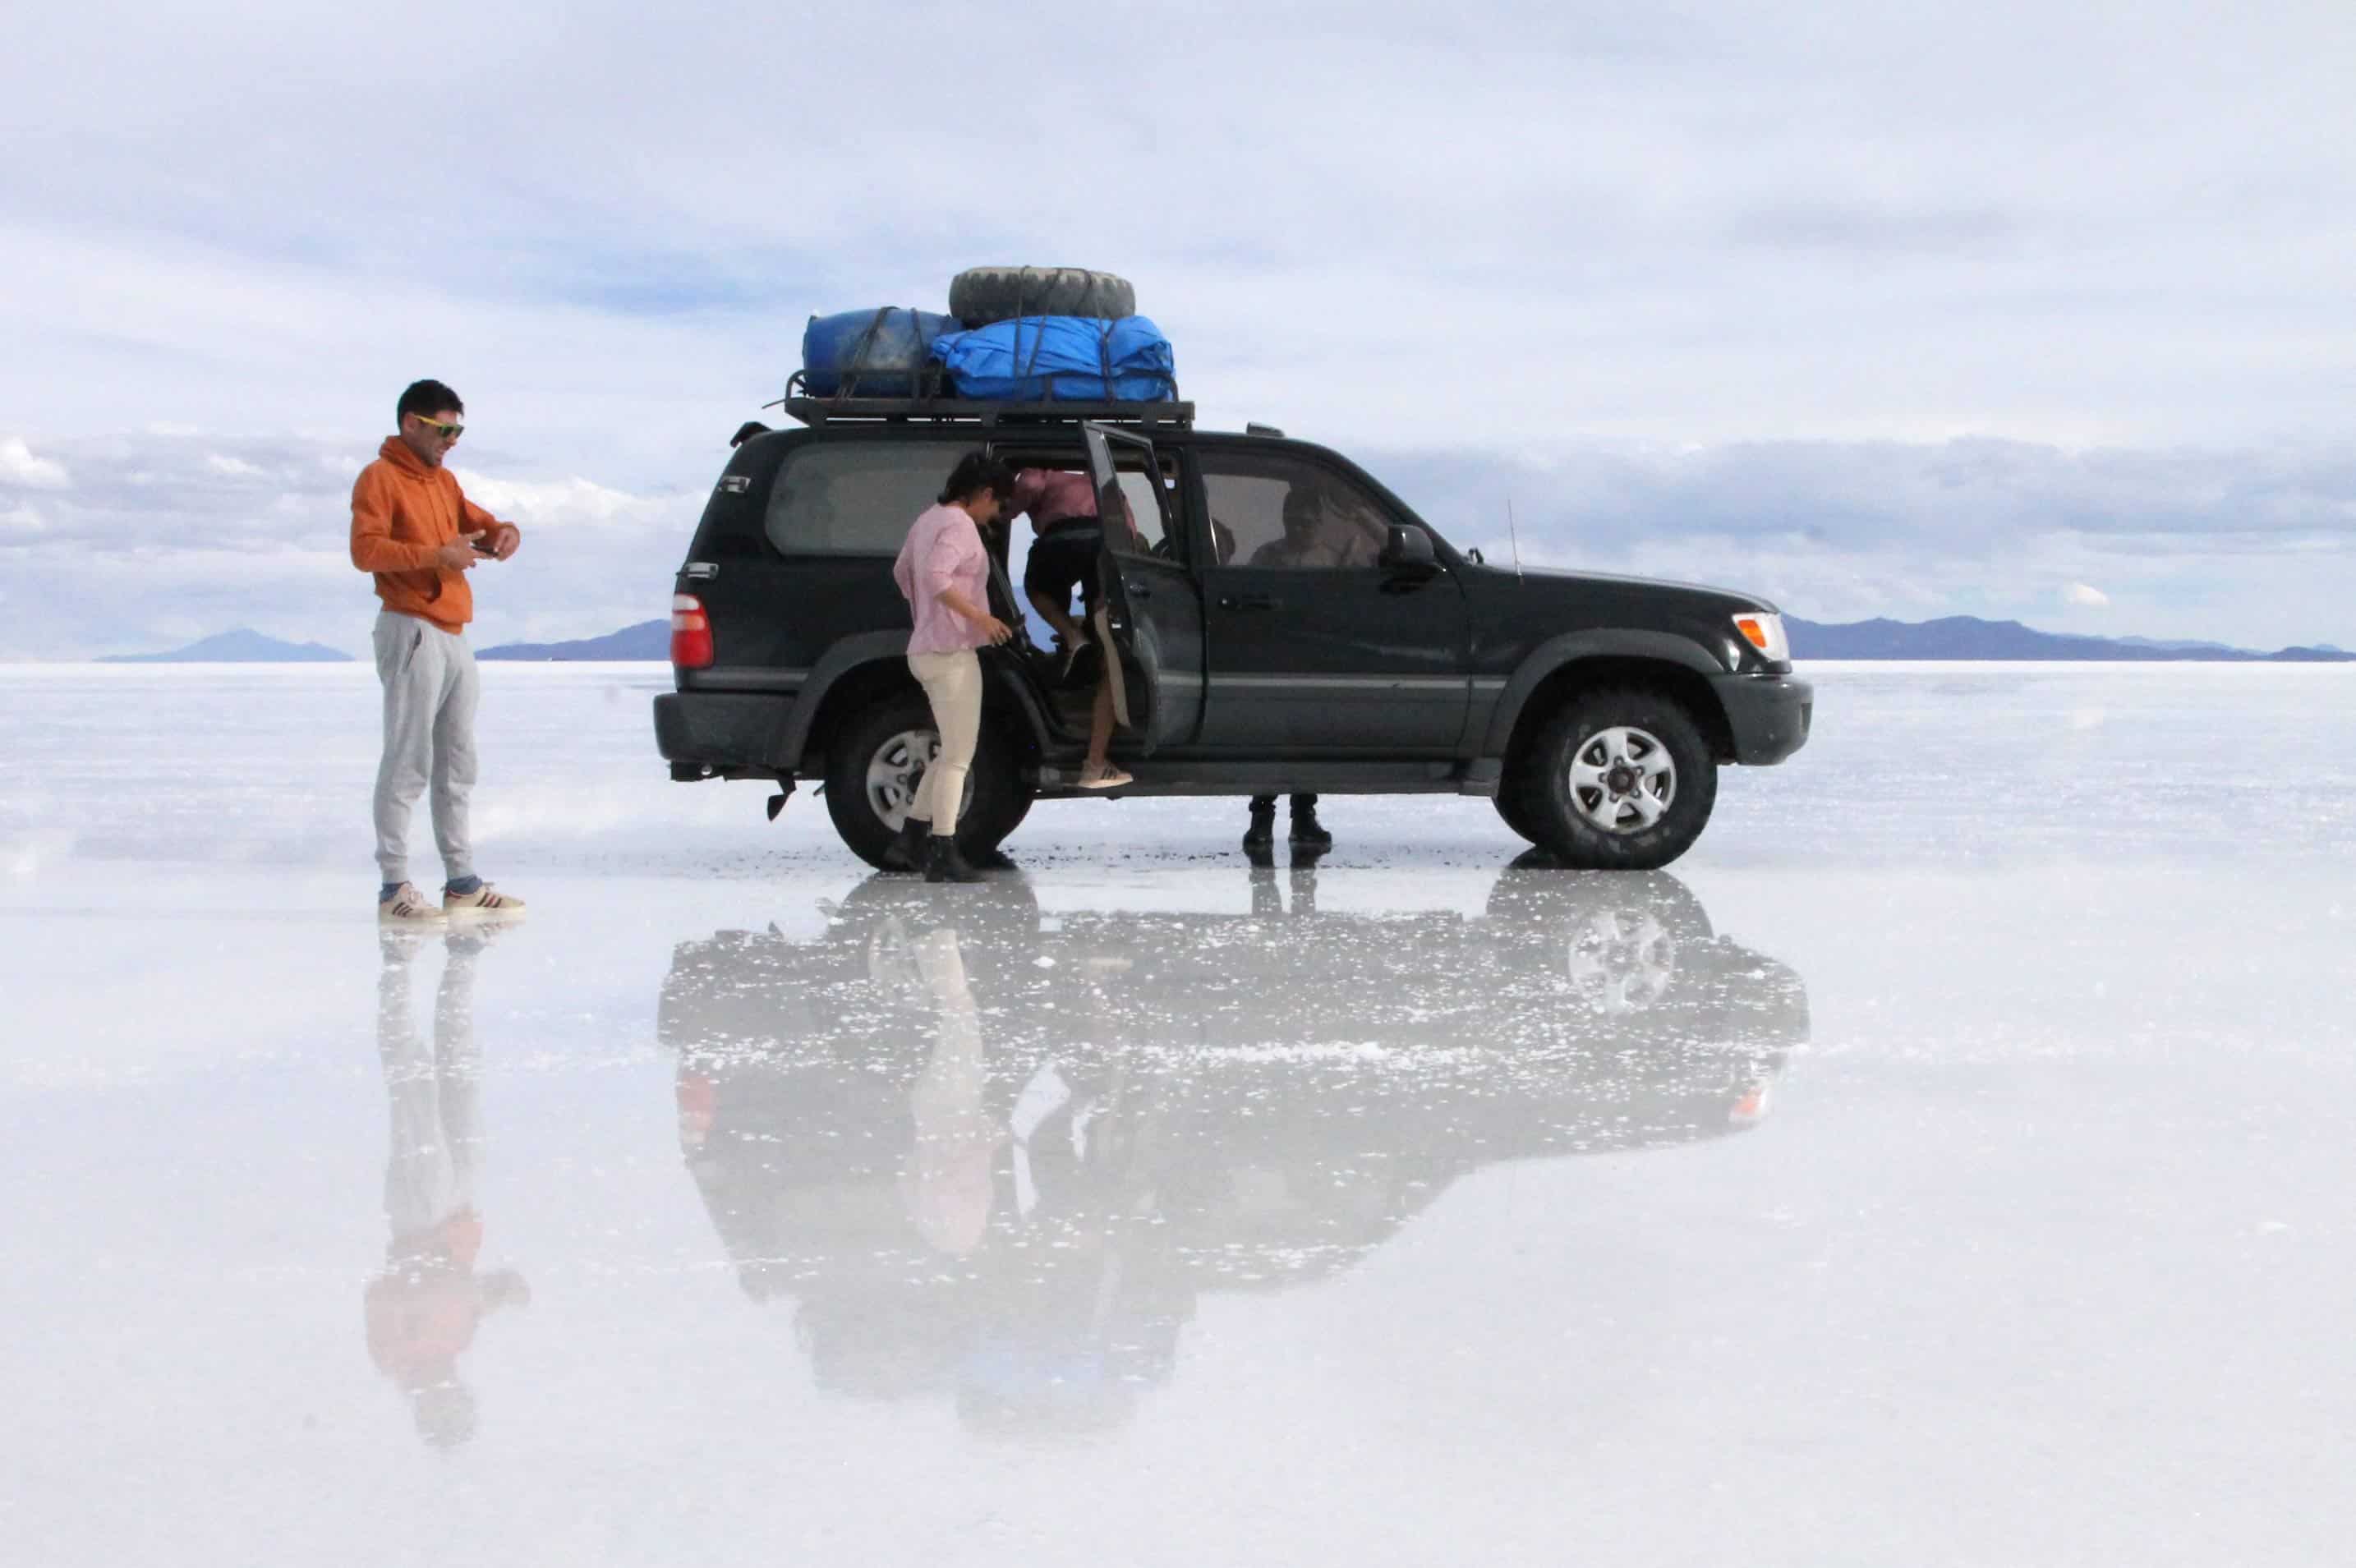
The Transport
From what I could see the majority of cars were Toyota Land Cruisers, with some Nissan Patrols and similar. The car I was in was a 2004 V8 Toyota Land Cruiser 4×4, and this carried the 7 of us in it – the driver and guide, and my group of 5. You spend a lot of time in these cars, but they are relatively comfortable despite the close proximity to complete strangers (they are not strangers by the end of the trip). Despite not being super luxurious you will be thankful of their sturdy nature when you see the terrain they are expected to traverse.
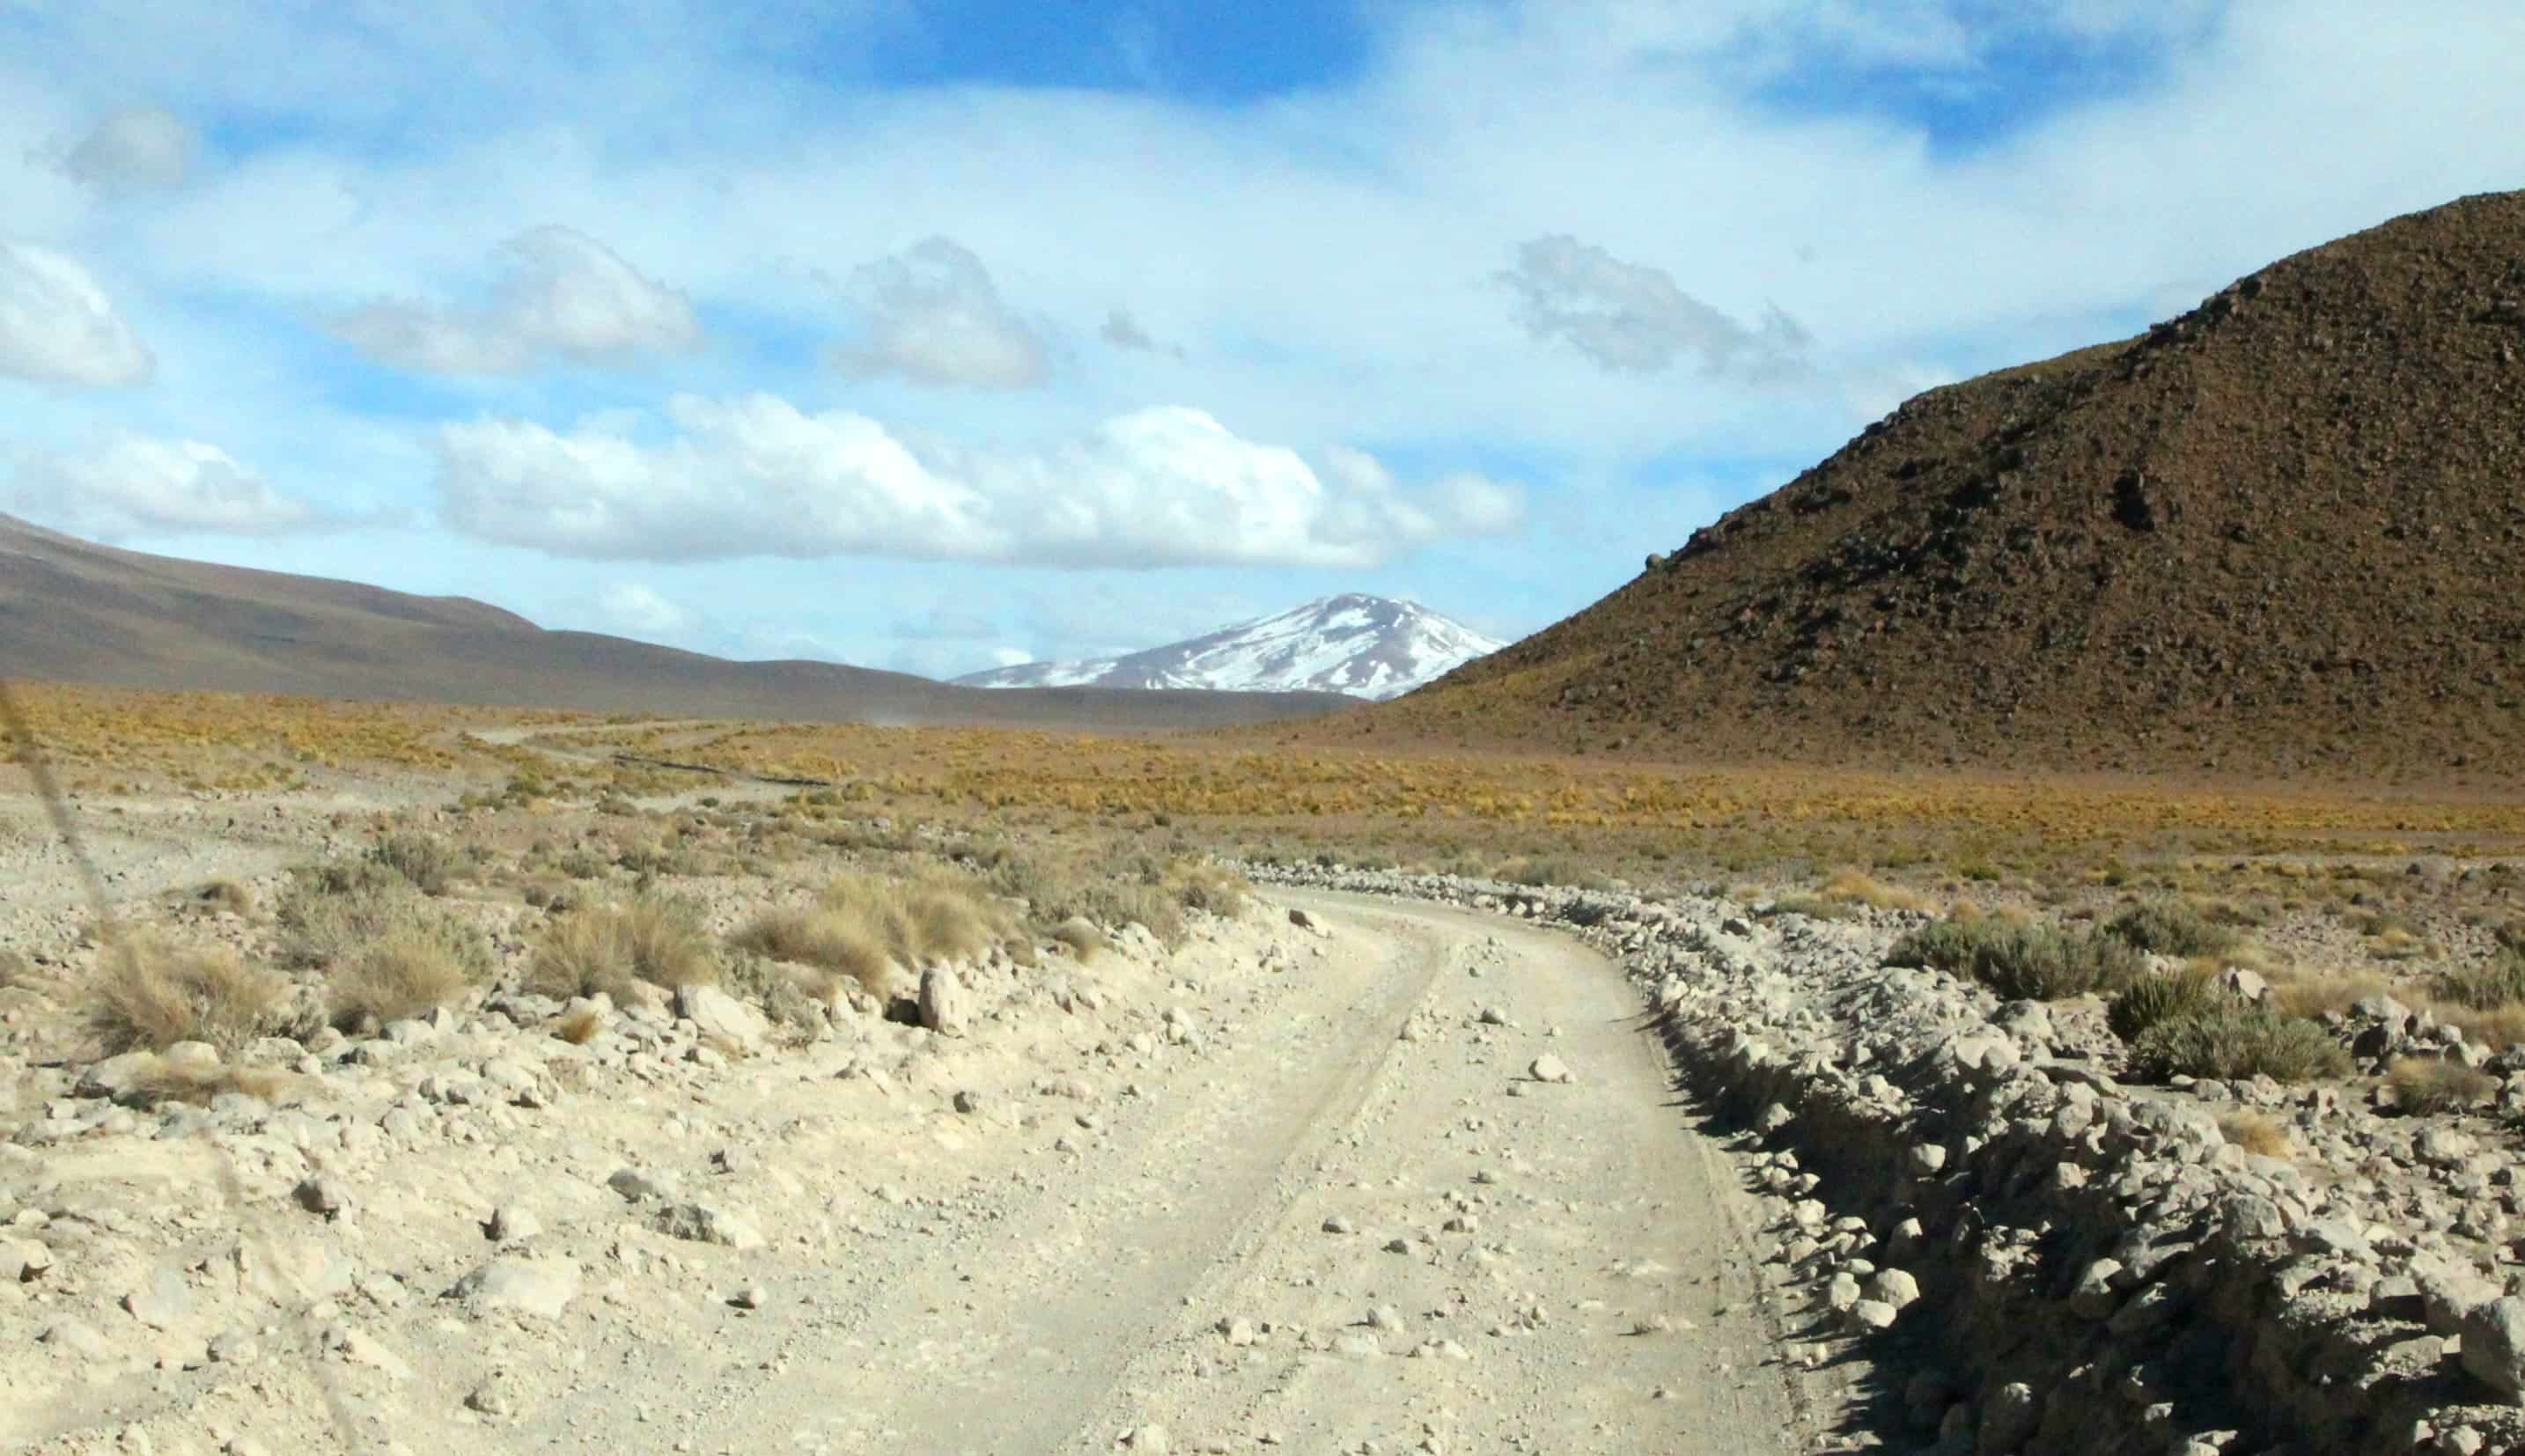
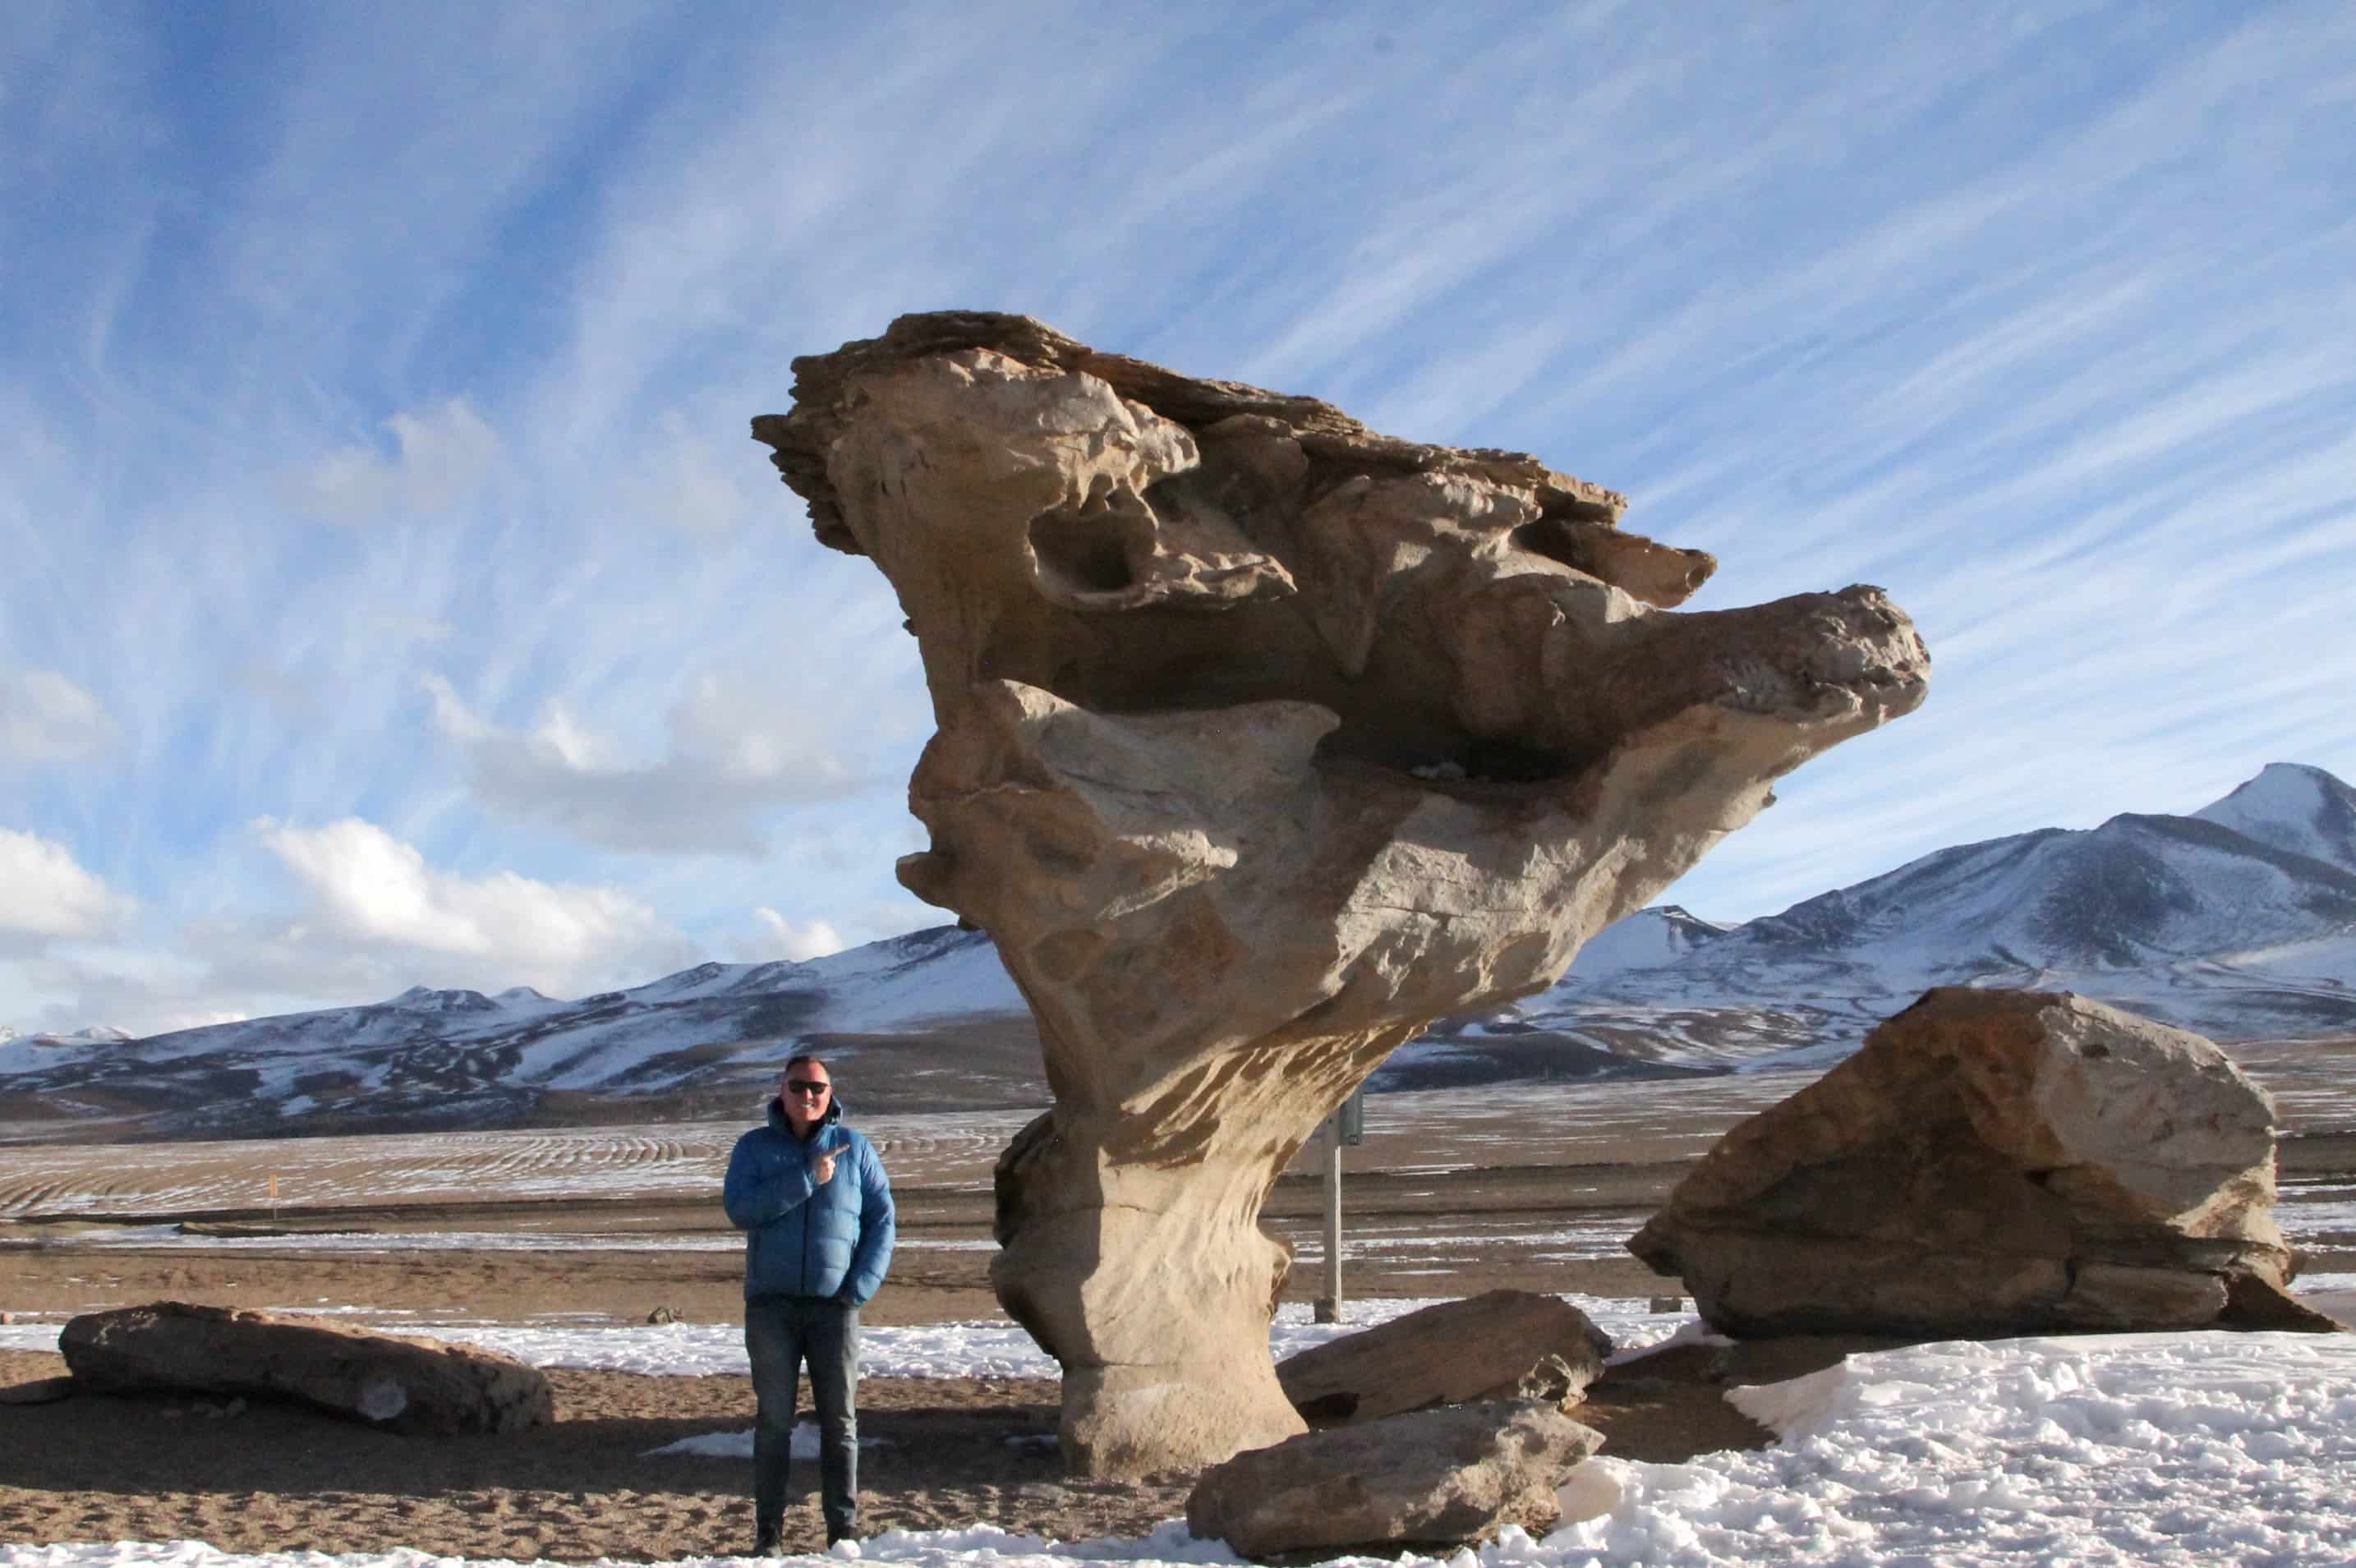
The Roads
Let me start by saying that calling what you will be driving on over these three days a road is flattering. The path varies from dirt tracks and river bed-like terrain, to the surreal salt flats and open desert plains, to something you’d expect to encounter driving up a to a club ski field. As one example, driving up what is now as the Inca Step there is some proper 4-wheel driving required, which was quite fun albeit not that long. For most of the time you are cruising along at 70-80kmph across some pretty wild terrain. I have no idea how the drivers keep their bearings, but I guess that is what they get paid for! It’s all good fun.
Pack your day bag smartly
Your main pack goes on the roof of the car and you can’t get anything out of it until that night, so be smart about making sure you have everything you need in your day bag to take in the car. This might mean transferring things from your luggage if you have flown in such as sunblock and a jacket. Things are pretty intimate in the vehicle, so you won’t want too large a day pack, but at the same time you don’t want to have your warm gear stashed on top of the car while you quietly get hypothermia when out taking photos. A recharging pack for your phone is a good idea, especially if you are using it as a camera, and a spare battery for your normal camera wouldn’t be a bad idea either. Throw some loo paper in there too – you never know.
What to wear
I was in Salar de Uyuni in July, which is mid-winter, so I was expecting it to be really cold – which it was. Being from New Zealand I had a huge swag of winter gear already; thermal underwear, merino tops, and a thick down jacket to keep me warm. My travelling companions however, were not kitted out with the sort of outfit you’d expect to see on a polar expedition and they survived with varying degrees of comfort.
On day one the salt flats should be warm, possibly warm enough just for a t-shirt in winter (definitely hot in summer), and here you will need sunglasses, a hat, and sunblock as well, as the glare of the white salt flats is the same as being snow-blind with the nasty sunburn potential to boot. As you head up into higher altitude and the sun disappears things get progressively colder. Make sure you have on hand a good Jersey, and warm jacket, some sort of beanie and maybe even some gloves. Thick socks will help too. As mentioned above, pack these in your day pack.
The Accommodation
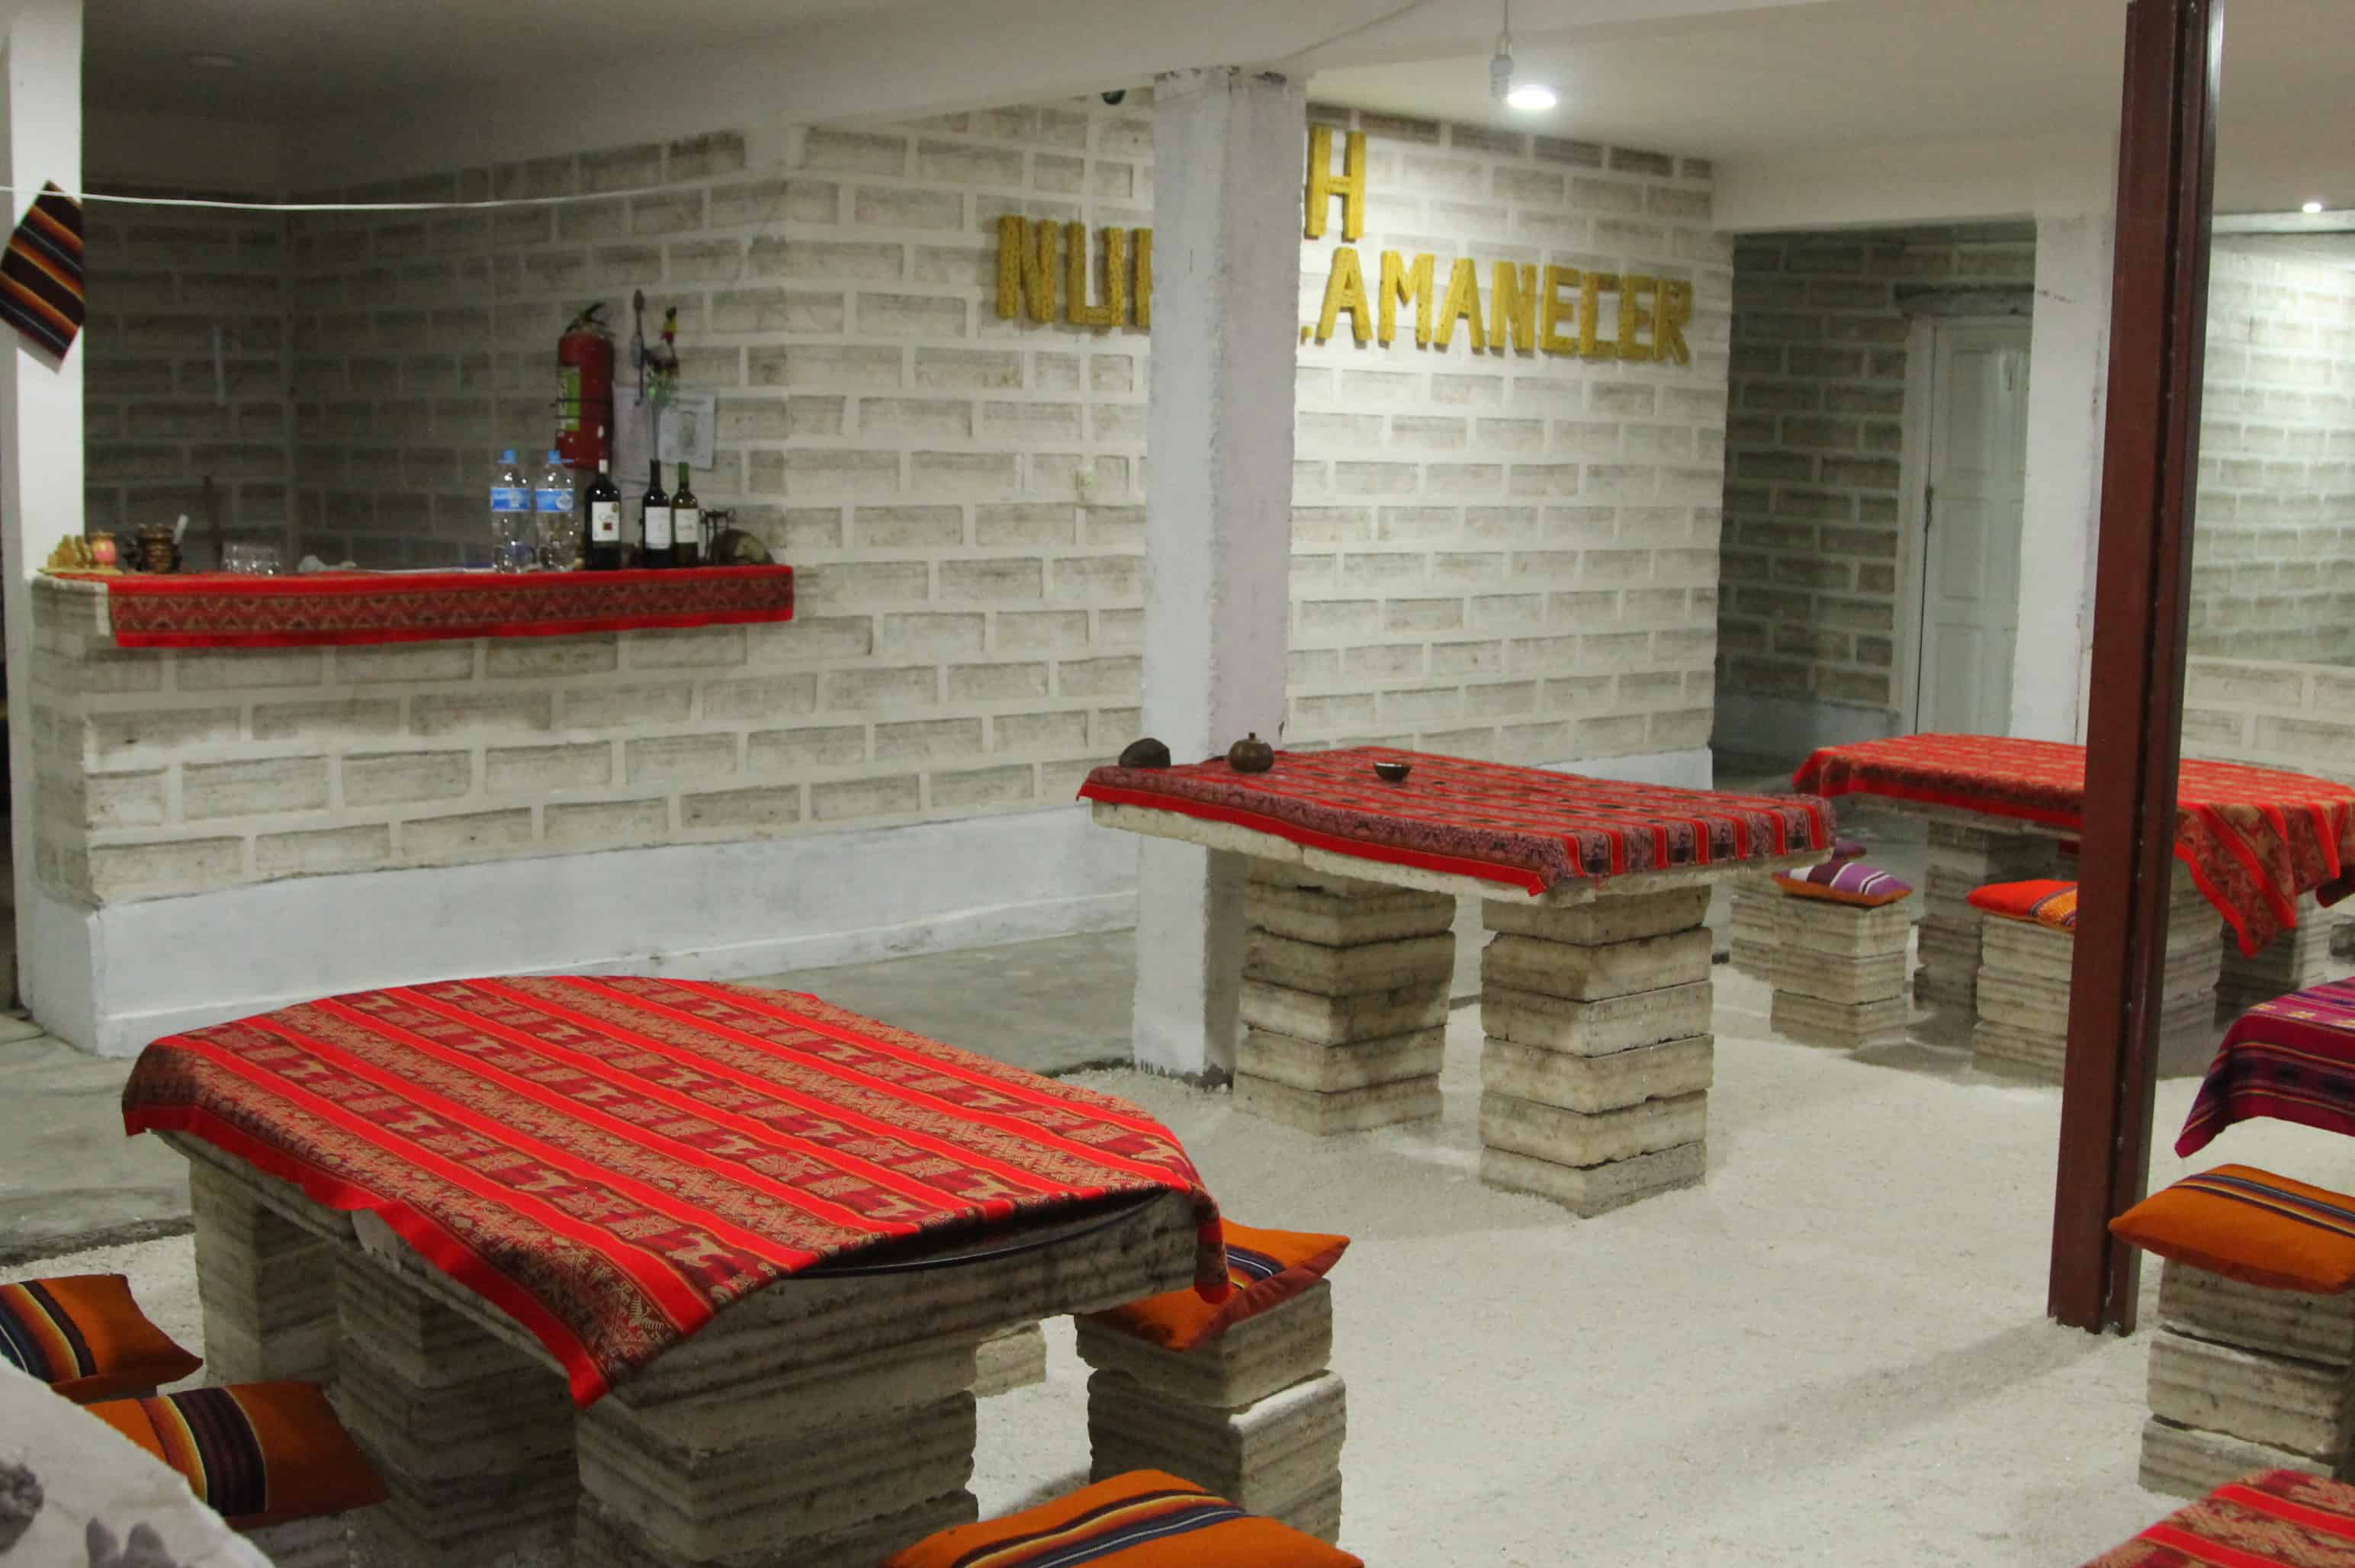
Over your 3-day, 2-night trip you will be spending two nights in some very basic accommodation. It seemed a little uncertain as to where we were staying exactly, until we arrived at each place and it was dependant on how many other cars turned up and what time you arrived as to what room you were allocated. The first night we stayed in a salt hotel, which was quirky and cool, but when I say a salt hotel I mean the walls were made of salt. The table was made of salt. The stools were made of salt. There was salt chip on the ground. Think cinder block. It is very basic and not too warm either. A gas heater was turned on briefly but prepare to be cold, especially in winter. Having said this, it was still a cool and enjoyable experience which definitely added to the sense of adventure.
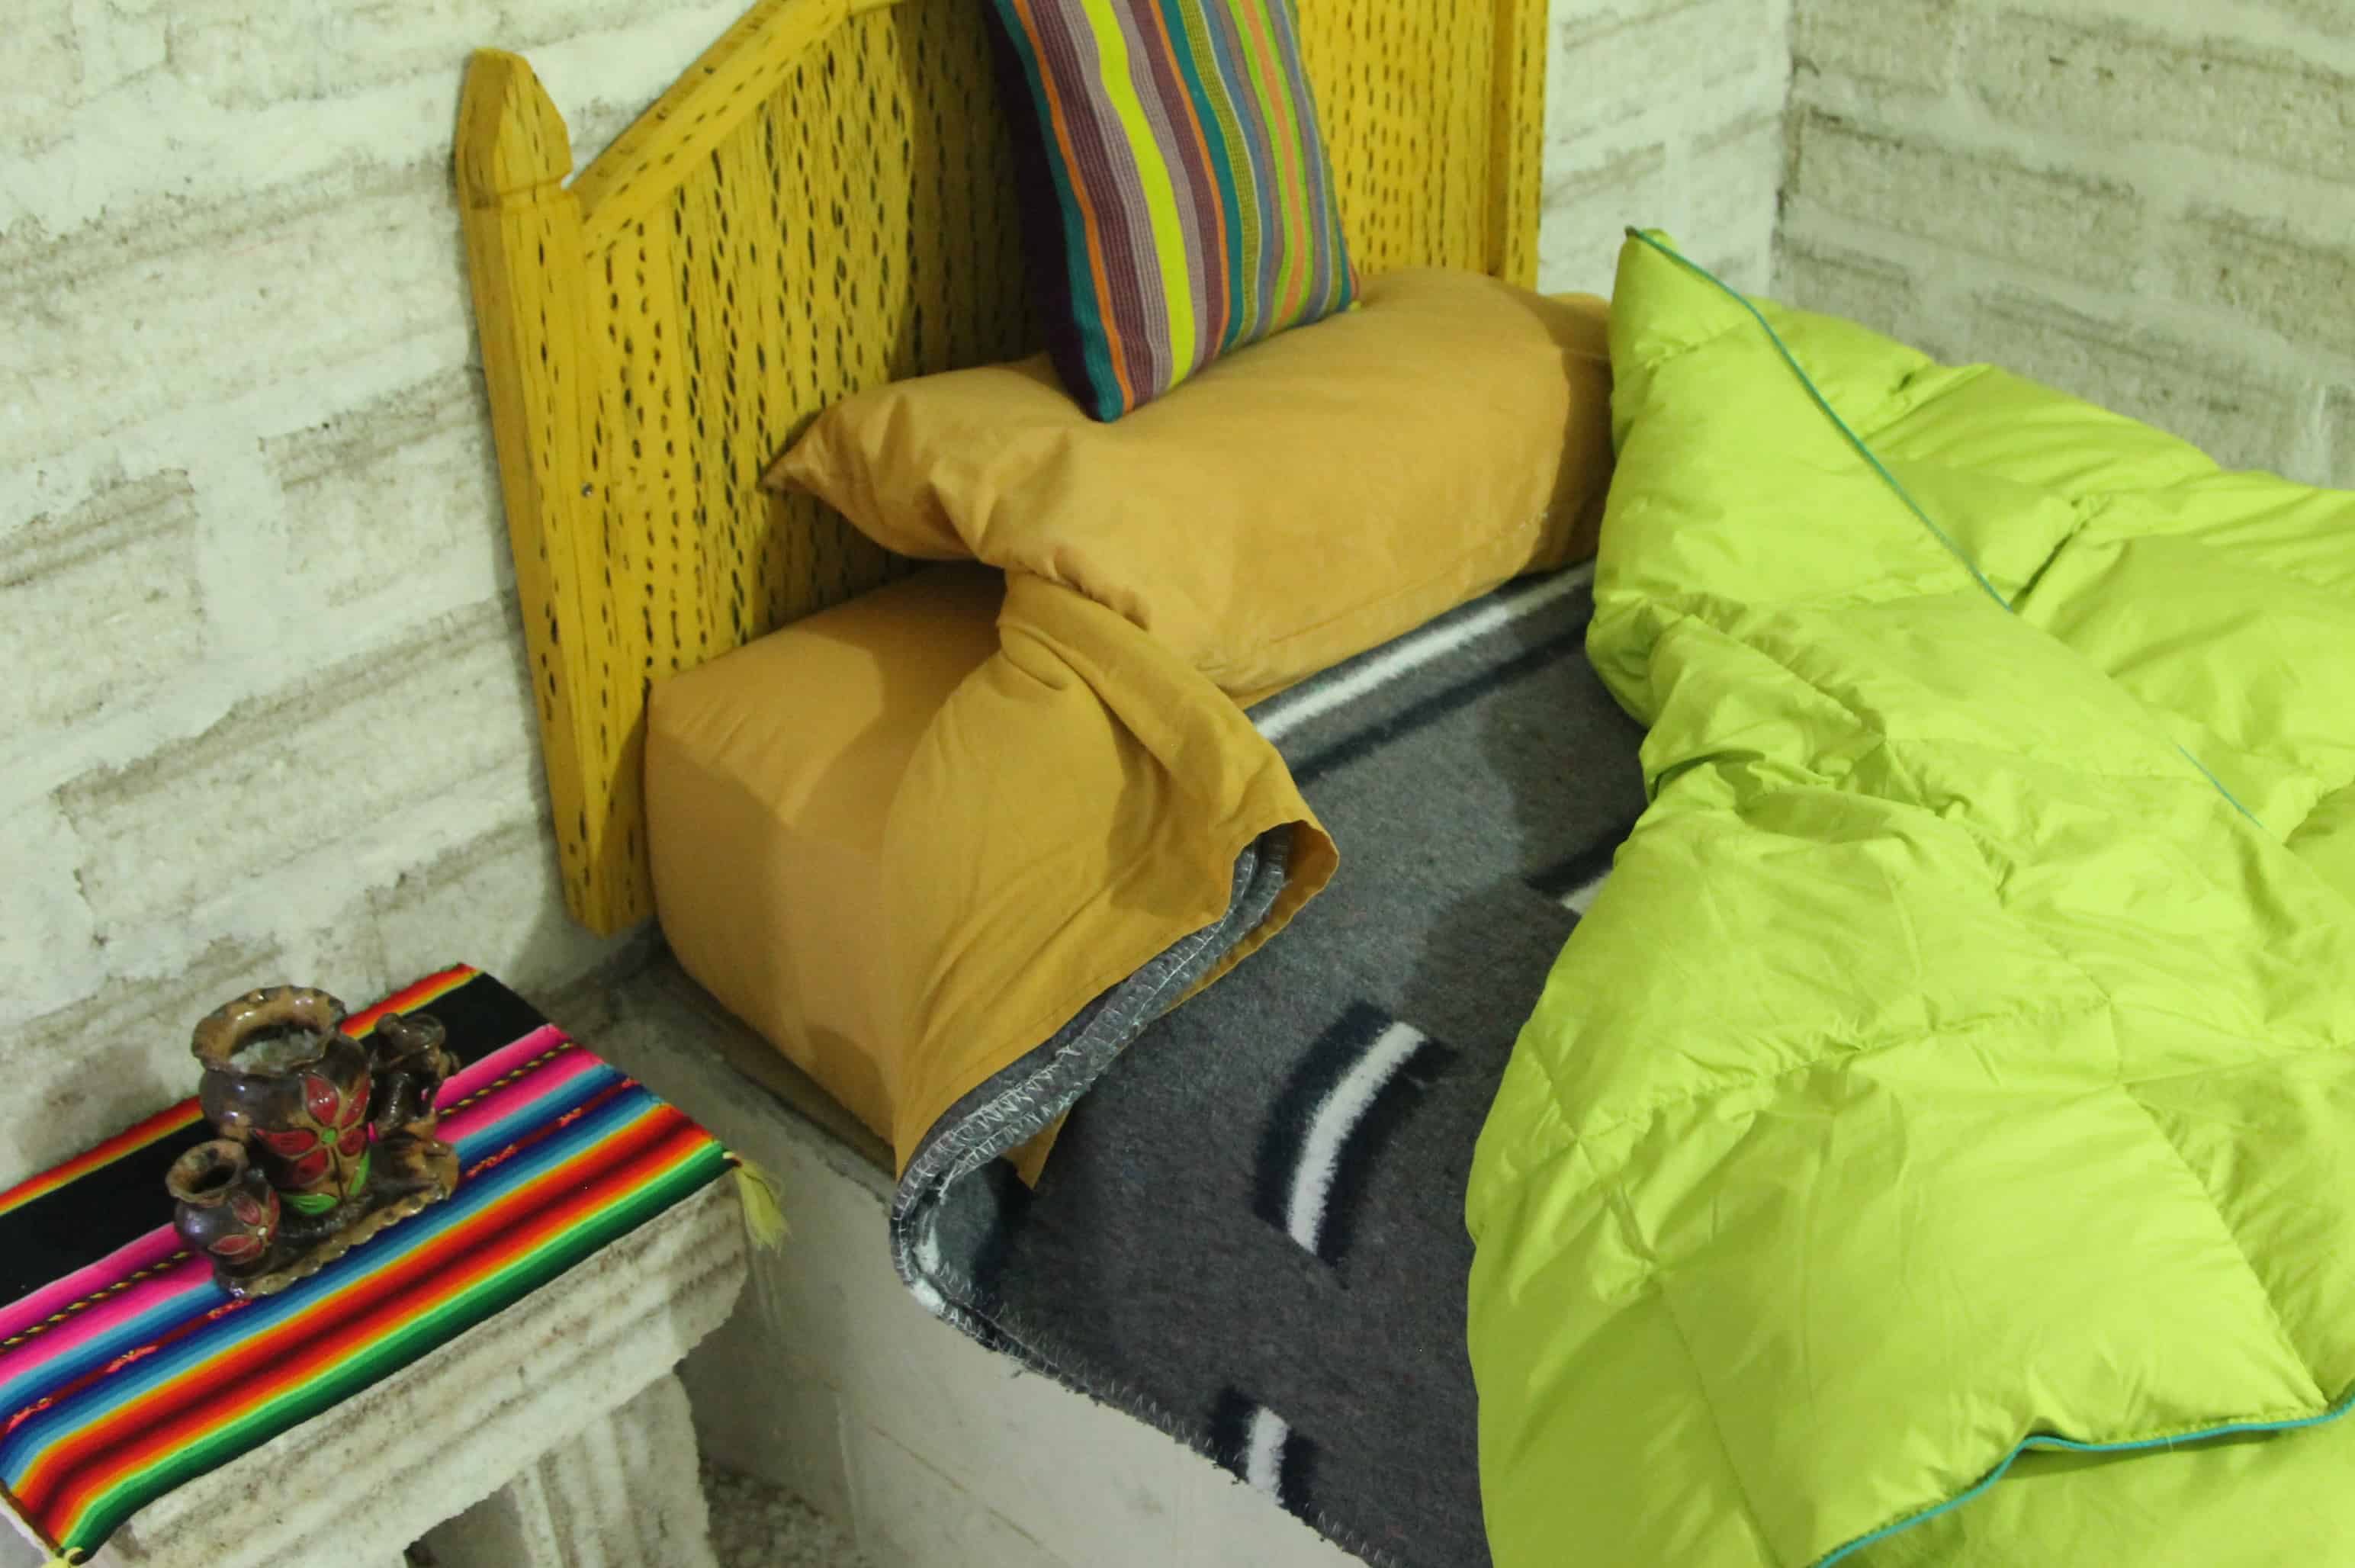
The second night was also in very basic accommodation. Being a lone traveller, I ended up being moved to a room by myself at a nearby lodge next to where my travel companions (two couples) were staying, who shared a 4-bedroom room. You might like to consider taking take a sleeping bag (I took one but didn’t need it in the end). I really want to emphasise that the accommodation is very basic, and there really are no alternatives unless you want a very different trip. But this trip is not about fancy hotels, it is about visiting a fantastically scenic, unique and remote part of the world.
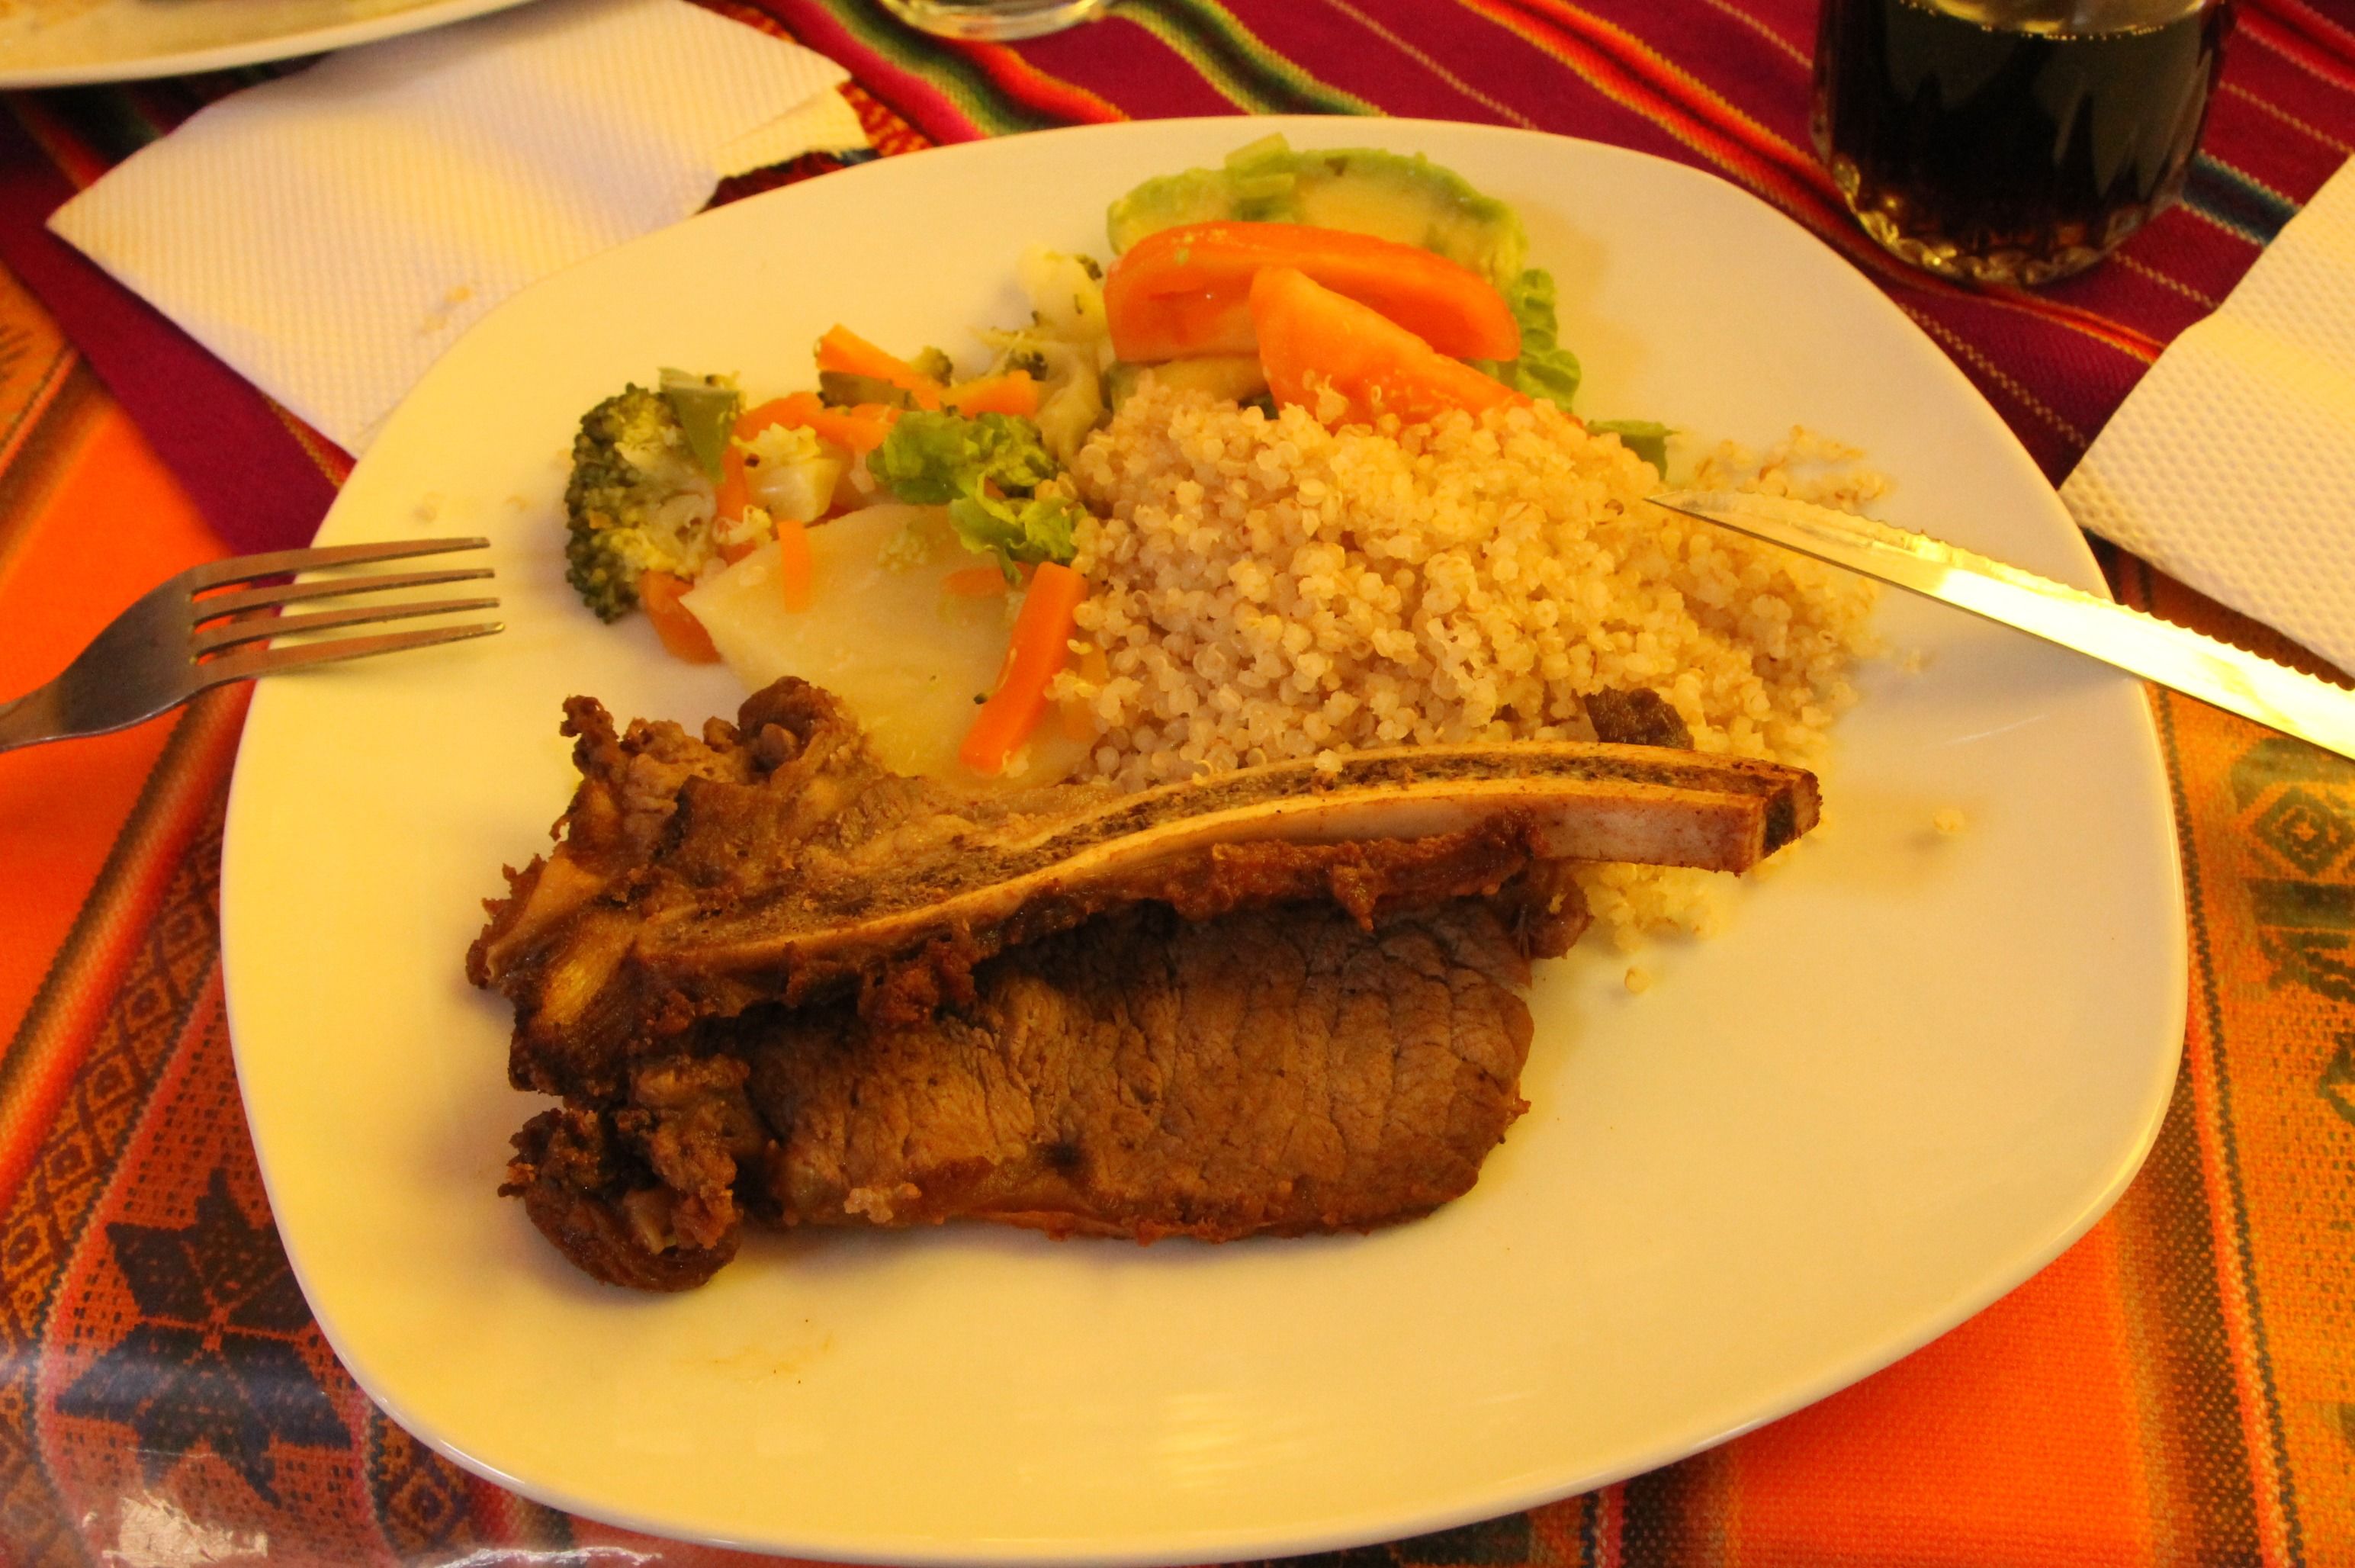
The Food
Our 3-day trip is an all-inclusive tour, and meals are provided along the way. Meals are prepared in the morning and kept warm for your lunches. While basic, the food is fine and helps fill a hole. Like the accommodation, this is not ever going to be the highlight of the trip, but it is fine. There is water and Coca Cola provided too. I would suggest packing a few snacks in your day pack and maybe some water too. We shared a bottle of wine on the second night that was provided and seemed like a complete luxury in the context of our environment, which added to the fun. If you have any dietary concerns, you should raise this with your travel designer as soon as possible.

The Altitude
There is often a bit of concern around the altitude you experience on this trip and how it will affect you. I only noticed a shortness of breath when I was exerting myself (like the hike up Fish Island, or Isla del Pescado – it was harder than I expected!) but had no other noticeable effects. Nor did I see anyone else struggling with the altitude. Travelling from Uyuni (3600m) down to San Pedro de Atacama (2400m) helps although you do experience some higher altitudes in the middle. Taking it easy, and keeping your fluids up are the most obvious ways to avoid any discomfort. You can also drink coca tea which can help. I have also heard Diamox (Acetazolamide) is very effective but you will need a prescription for this prior to traveling.
A few extra tips
On this trip there is limited access to power and no internet or connectivity of any kind. Charge things when and where you can but don’t rely on being able to do this. I did get some very brief reception at Ollagüe, a small town before you turn off to go to the Laguna Colorada, or ‘Red Lagoon’ near the end of day two. The second night the power was shut off at 9pm with no warning (or none that I heard…), leaving me standing in the middle of my room in pitch black. Luckily, I had my phone to use for light. Go to the toilet when you can and take some loo paper with you just in case. You will need your passport to enter Chile from Bolivia at the border.
This trip is like none other I have ever done. It is not the easiest travel, but it is extremely rewarding, and for the sake of 3 days it is actually pretty easy to manage. If you go into this trip with a little bit of preparation and an open mind and you will love every second of it. Exploring Salar de Uyuni is an experience like no other, and one I highly recommend adding to your bucket list.
What I recommend taking with you in the car:
- Sun glasses – the glare off the salt flats is exactly like snow
- Camera, and maybe a spare battery
- Warm clothes – jacket, thermals, gloves, beanie, warm socks etc
- Cap or other sunhat, and sunblock
- Decent walking shoes
- Towel and swim suit (for the brave…)
- Torch, although the one on your phone might be ok if its charged
- Water, snacks
- Power pack/recharger can be useful
- Toilet paper/tissues
- Passport (for border crossing)
- A sense of adventure!
If you want to find out more about the destinations in this article, or have any questions in general please contact us.